
Hello Chicken!
Share
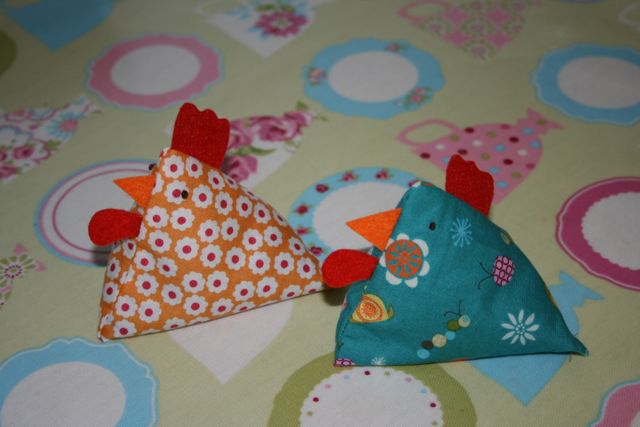
My eldest is really into sewing things at the moment and loves playing with my sewing machine, but it's quite difficult to think of things a 6 year old can make by themselves without me doing lots of it for her. So when I came across these bean bag chickens on Pinterest, they seemed like a perfect project.
We have loads of bits of scrap material, and I think if you want to make a whole brood of chickens, they would look even better in all different patterns.
You start with a piece of fabric, 11cm x 20cm, you could easily make them bigger or smaller, but this makes a nice beanbag size chicken. A large one might make a good doorstop though.
You also need to cut felt shapes for the beak and crest.
Next you fold the fabric in half upwards so the patterned side is inside. Then sew along the top and right hand side, sewing the felt shapes in the right place as you go along.
Next you need to hand sew on some eyes on either side,musing French knots or beads or small buttons.
Then you can stuff your chicken. We put a little toy stuffing in the head to keep the shape and filled the rest with dried lentils, don't over fill if you want a nice squidgy beanbag.
Then the final bit is to sew up the last edge, but to give the chicken a nice 3D shape, don't sew the edge flat, but pull the middles of each edge out to make a pyramid shape like a tetra pack, make sure it's well sewn so the filling doesn't escape.
My 6 year old pretty much managed all this herself and it only took about 20 minutes, so is quite easy and satisfying. I think they are a great Easter decoration.
The original instructions for the chickens can be found here http://www.redtedart.com/2012/02/10/pyramid-juggling-bag-chickens/